
We started off by measuring out where each bend needed to go in the plastic in order to make the correctly sized box. Then, the plastic was placed on the strip bender and allowed to heat up along the bend line. Once it was hot enough, we bent it to a 90 degree angle and removed it from the heat to set in its new shape.
The next bend was made with the box placed in the plastic in order to maintain the most accurate sizing possible.
Making the last bend to close up the box!
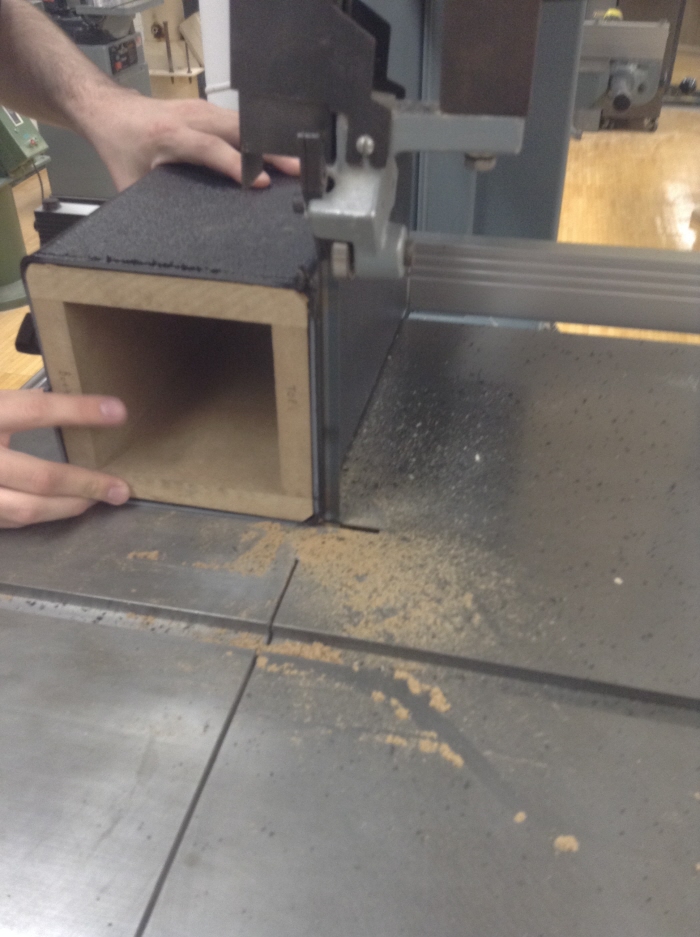
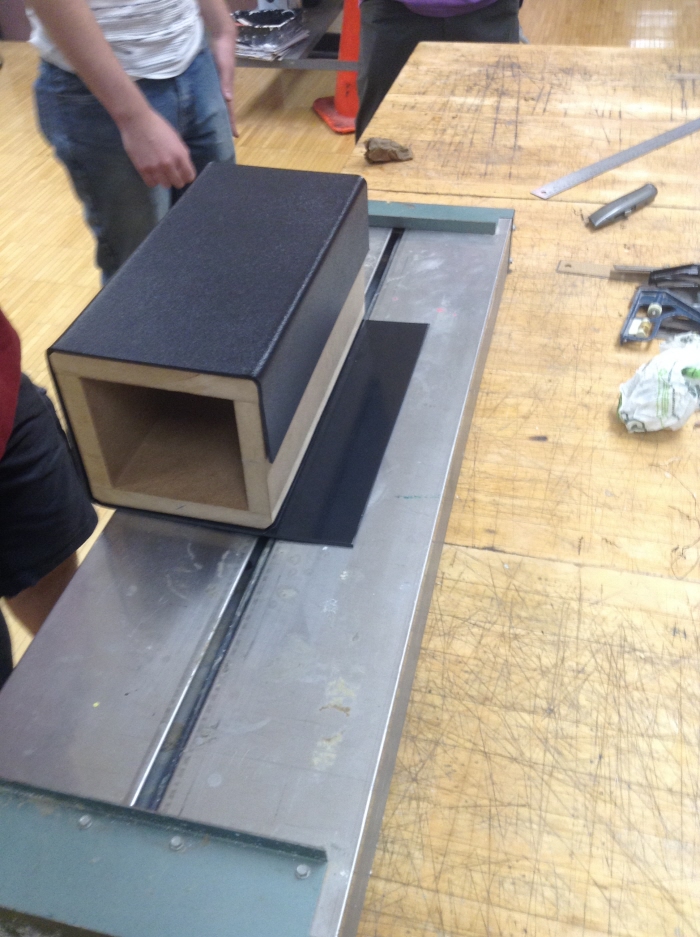
Some excess material had to be cut off of the end of the plastic in order to maintain the correct length.
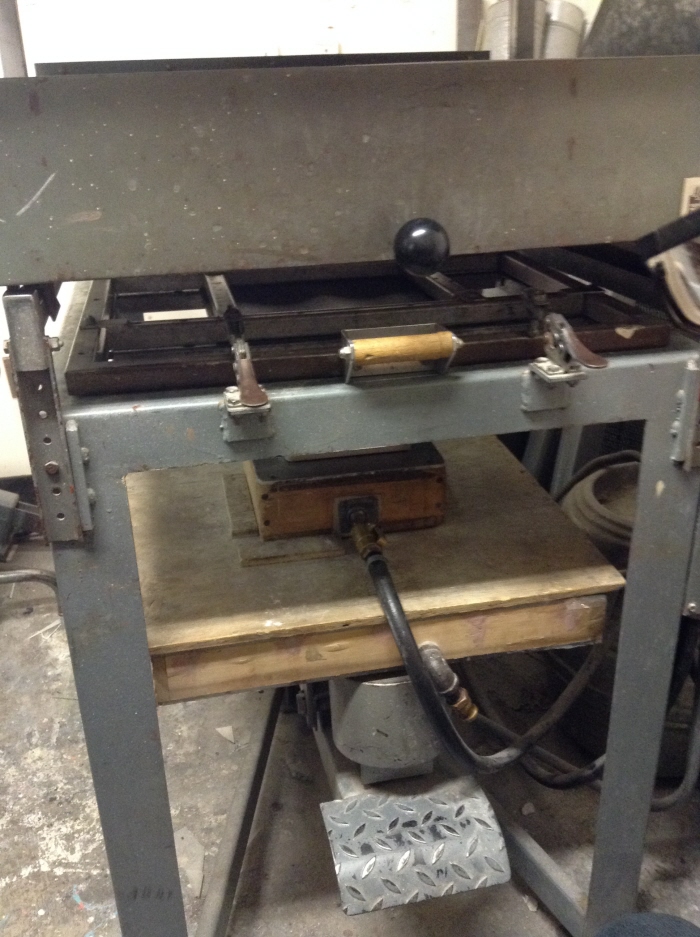
We used this vacuum forming machine in order to make the end caps for the box. First, the end of the box was traced and another particle board mold was made to this size. From there, we caked the mold in baby powder (for ease of removal) and placed it on the vacuum box. The plastic was slid in over the top of the mold and was allowed to heat up. Once it started to sag over the mold, we activated the vacuum, which sucked the plastic all around the box and created our end cap.
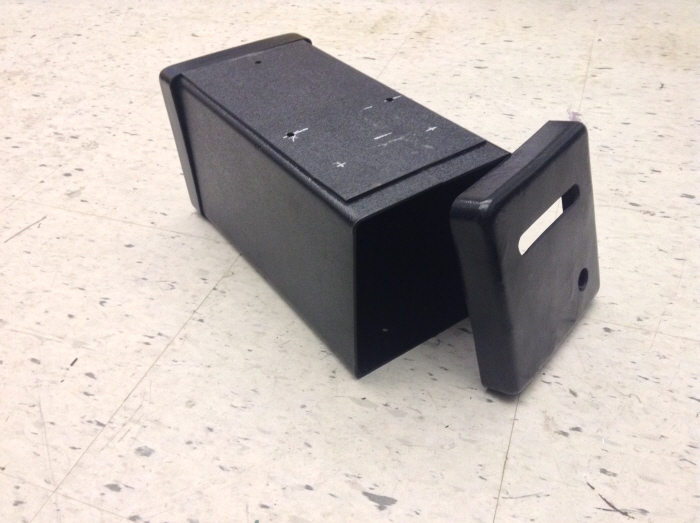
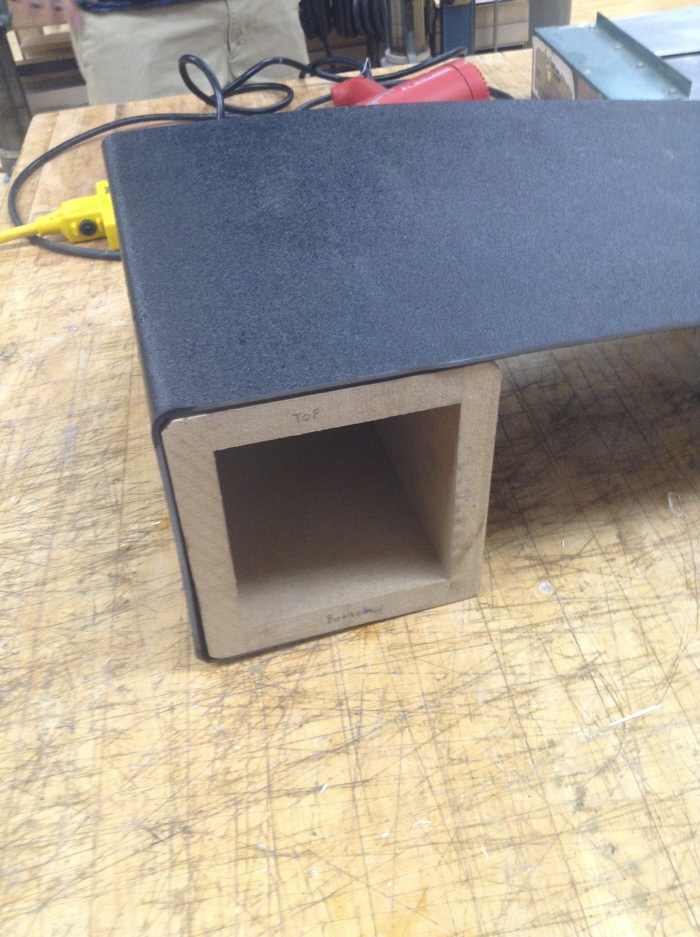
A picture of the completed box, with the end cap resting next to it.The top sheet of plastic was solvent welded with acetone in order to close the box.
gLike
Electric Bike Battery Box (EVT)
When I first joined EVT at the start of freshman year, my first project was to create a box to house the batteries and the controller for an electric bike. I worked with a team on the design and construction of the box. My main contributions were creating parts of the particle board mold for the box, using the strip bender to form the plastic around the mold, and later creating vacuum formed end caps for the box.