Wall Mount Tool

Wall Mount Tool

Wall Mount Tool

Furniture Design

Furniture Design

Furniture Design

Furniture Design

Furniture Design

Furniture Design

Furniture Design

Furniture Design

Furniture Design

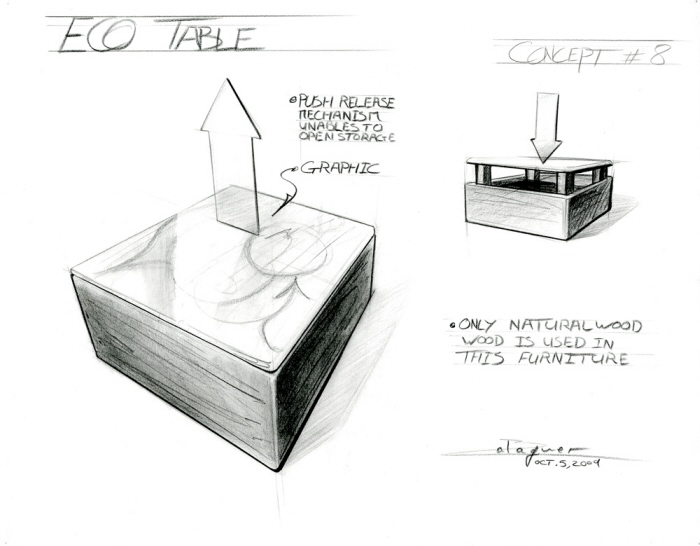
4 Final directions - 4 Final directions & a couple of lead sketches

Furniture Design - These sketch renderings were part of my mid-term for Intermediate Furniture Design.

Furniture Design - These sketch renderings were part of my mid-term for Intermediate Furniture Design.

Furniture Design - These sketch renderings were part of my mid-term for Intermediate Furniture Design.

Midterm visual research communication

A few thinking sketches - Here are a few unedited scanned drawings.

Final direction

Furniture Design - Graphic study for multifunctional table (Advanced Furniture class).
Graphics created by Rene Almanza

Furniture Design - Graphic study for multifunctional table (Advanced Furniture class).
Graphics created by Rubens Lp.

Furniture Design - Graphic study for multifunctional table (Advanced Furniture class).

Furniture Design - Graphic study for multifunctional table (Advanced Furniture class).
Graphics created by Ashley Wood.

Furniture Design - Graphic study for multifunctional table (Advanced Furniture class).
Graphics created by Kahori Maki.

Furniture Design - Final - Background Graphic created by Alexis Marcou.

Furniture Design - Final

Furniture Design - Final - Graphics created by Rene Almanza, Alexis Marcou, Dmitry Ligay, Iain Macarthur, Stamatis Laskos, and Jan Piasek.

How I bent plywood for my furniture project - My first step was to identify what technique would be easier and less time consuming. I quickly learned about steam bending and Kerfing, and found out that the Kerfing technique was more appropriate for this project.

How I bent plywood for my furniture project - I made one sample after another, trying out a few different glues and a variety of slit spacing. This allowed me to figured out the right spacing proportions for the plywood to bend properly while having enough surface contact to stay strong.

How I bent plywood for my furniture project - In the mean time of the trial and error phase, I continually refined the "buck". The yellow foam part on the rounded section was added after the first sample; when the sample was clamped to the "buck" the plywood cracked due to the flatness of the section.

How I bent plywood for my furniture project - Once the technique had been proven to work, I used the same slit spacing and the same glue to the full size plywood sheets. A massive amount of clamps and weights were used to keep the two sheets tight together and to the "buck".

How I bent plywood for my furniture project - When I removed all of the clamps and weights the bent plywood stayed at the desired shape and was far stronger than expected.

How I bent plywood for my furniture project - This technique allowed me to get a smooth accurate bent part. It toke me a few additional hours to clean-up the edges but it was worth it considering the level of accuracy I was able to achieved in the bent curvature .

How I bent plywood for my furniture project - After sanding down the edges I applied a veneer to cover the kerfing slits. I then trimmed the veneer to size and sanded sharp edges.
gLike