
I kept extending the geometry to form the jaw and shaped the back of the head a bit better.

After joining the remaining geometry the first pass on the head was done.

BODY
Starting with a cube I extruded the faces to get a rough outline of the body by using the reference images. I added an edge loop down each side of the chest using the edge loop tool, positioned the hips and extruded to form the tops of the legs.

Using the multi cut tool I created extra polygons at the top of the body and extruded them to form the neck.
I also added more edge loops to the body to define it a bit better.

Next I extruded the legs, added edge loops to them and extruded the feet out from the bottom of the legs.

For the arms I just extruded them out but the topology was not right and would have to be changed later to form loops around the shoulder area so it deforms properly.

HANDS AND FEET
For the hands I made a cube and five cylinders. Then I join the cylinders to the hands using the append polygon tool to get the rough form of the hand. Next I deleted edges, merged vertices and used the multi cut tool to make the geometry between the fingers link up better.
I used this method to reduce the edges where they flow from the fingers to the rest of the hand.

Finally for the nails I just created a loop of edges where the nails would be and extruded the faces. I also added some edge loops to allow the knuckles to deform properly.

I used the exact same method to create the feet.

ADDING GEOMETRY TO THE FACE
At this point I started to add more edge loops to the face to fill out the geometry. In certain areas in was essential to use both the edge slide function (tool pallet) and the edit edge flow function (shift + right click – edit edge flow), this made it a much quicker process. I also used the sculpting tools to smooth the mesh and added some spheres for eyes.

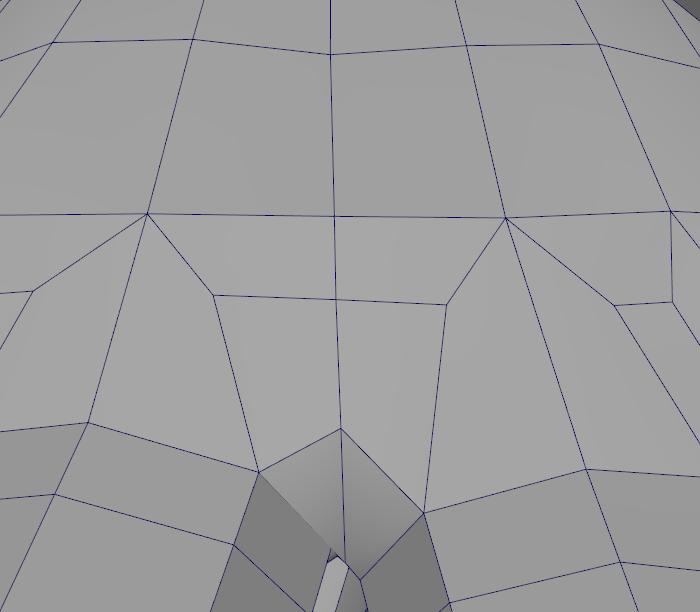
The nose and nostrils was just a matter of adding edges and extruding the nostril holes.

EARS
For the ears I used the extrude tool to rough out the shape. Where the geometry didn’t line up I had to delete edges and use both the append polygon tool and the multi cut tool to clean up the geometry.

SHOULDER EDGEFLOW
Now I needed to fix the shoulder which was a matter of deleting edges and using the multi cut tool to redirect the edge flow. I then added some edge loops to allow for better deformation.

CLOTHING
Next I started on the clothing, I separated the bust of the body and extruded the bottom down to form the dress. Using the reference image I shaped the dress.

At this point I had to redirect the edge flow around the top of the dress where the neck is. To do so, I deleted polygons to shape a hole and used the append polygon tool create tris around the neck line. I then deleted edges and used the multi cut tool and also merge vertices tool to make quads.

To add the folds at the edge of the clothing I just extruded or added edge loops and positioned them. I also connected the neck to the clothing by bridging the edges between them and cleaning them up with the edit edge flow function and the sculpting tools.

For the pants I used the same process as I did for the dress.

TEETH AND TOUNGE
To get the rough shape of the teeth and gums I created a cylinder with 68 edges, deleted the centre arcs, extruded the outside edges inward and then cut it in half. I scaled the inside edges and positioned them to get the shape I wanted. Next I started to add edges to define the lines of the teeth and used the multi cut tool to fill in the quads.

Then I added a couple of edge loops where needed and arranged the edges and vertices to shape the teeth and gums. I used the sculpting tools to break up the shape of the gums and to shape the teeth a bit better. Lastly I used the lattice deformer to angle the teeth and gums so that the top and bottom are shaped slightly differently and also so they fit in the mouth better.

I also created the inside of the mouth using a sphere and a cylinder, I joined them up and used the sculpting tools to smooth the mesh.

The tongue was made using a cylinder, adding an edge down the centre with the connect tool and multi cut tool and shaping it using the sculpting tools.

HAIR
For the hair I used the quad draw tool to make three different locks and then arranged the vertices so that there is enough of an angle to see the texture from various angles when it is applied. I also set up the UVs for them as it will be easier to do it before I start duplicating them to form the hair.
I made the hair this way so I could use a method to create the texture with an alpha and also use a spec map to give the illusion of locks of hair while still been low poly geometry.

I then started to arrange the hair using the reference image and also the animatic.

After talking to my lecturer Sorin, he suggested that I make the hair less like a comb over so I made some tweaks to it.

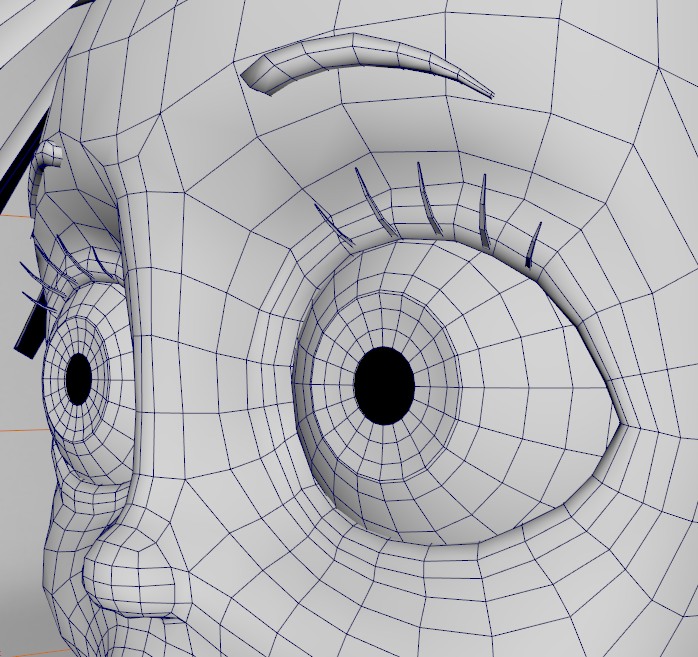
EYES
The first set of eyes I made didn’t get used as my lecturer wanted more realistic eyes.

I made the new eyes by starting off with a sphere and after scaling it I made edge loops for where the iris and pupil would be. I then shaped the edge loops to curve the iris inward and also extruded the pupil inward. Then I made a plane and placed it just on the inside of the pupil. There is also another sphere which fits on top to form the cornea.
FINALIZING
The eyebrows and eyelashes were made the same way as I made the hair and it was just a matter of positioning and scaling them.

I then worked on tweaking the rest of the model. I added more volume to the nose and defined the creases a bit better. I used the sculpt tool to shape and smooth the mesh. I added more volume to the cheeks. I positioned the different components of the mouth. Finally I rigged the jaw so I could open the mouth. To do so I created joints and after smooth binding them to the skin I painted weights to get the mouth and jaw to deform properly.
I’m happy with the way Lucy turned out. Because the model will be used in Unreal engine I had to keep a low geometry count in certain areas but also have denser geometry where needed for deformation. This was my main concern coming into this project and I think should be fine for the next stage of the production.
gLike
Grandma's House Modelling
3D model for Gandmas's House, a production i am currently working on at Queensland University of Technology.

