![](https://s3images.coroflot.com/user_files/individual_files/482082_bcwygpea5ga7d20hpp9srzs2k.png)
Explanation of Key Icons - page 1
![](https://s3images.coroflot.com/user_files/individual_files/482082_9otxdyaqfy9me6qlt3_ewsy8d.png)
Explanation of Key Icons - page 2
![](https://s3images.coroflot.com/user_files/individual_files/482082_rg7jgfjsl2ue2jtyfuxyivyvp.png)
Explanation of Key Icons - page 3
![](https://s3images.coroflot.com/user_files/individual_files/482082_tptskvoi0gmev8xuiofkkleyg.png)
Explanation of Key Icons - page 4
![](https://s3images.coroflot.com/user_files/individual_files/482082_8zwvzlk0pxosyqwo3y8wus7gp.png)
Explanation of Key Icons - page 5
![](https://s3images.coroflot.com/user_files/individual_files/482082_gmxykrxvhecaussvkfowflrfa.png)
Explanation of Key Icons - page 6
![](https://s3images.coroflot.com/user_files/individual_files/482082_hohjn_0njn0elorqmacnzmpeb.png)
Explanation of Key Icons - page 7
![](https://s3images.coroflot.com/user_files/individual_files/482082_zuktghw6d9cki7zturikqulxq.png)
Explanation of Key Icons - page 8
![](https://s3images.coroflot.com/user_files/individual_files/482082_yh03rgbipbcbcd0vxw5cxxdur.png)
Explanation of Key Icons - page 9
![](https://s3images.coroflot.com/user_files/individual_files/482082_qh3hcc6xzvgonsmpww5kqf40x.png)
Explanation of Key Icons - page 10
![](https://s3images.coroflot.com/user_files/individual_files/482082_juyke3hxb5gkb7w9huarunwk2.png)
Explanation of Key Icons - page 11
![](https://s3images.coroflot.com/user_files/individual_files/482082_zr5fjdzpy2vw53pibfpwf3u_d.png)
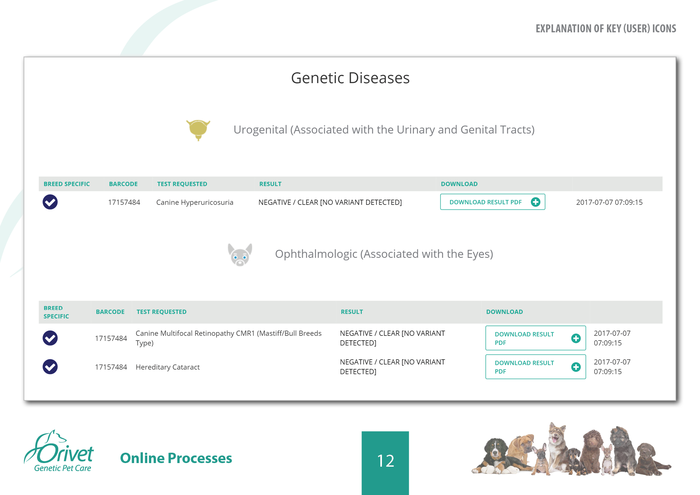
Explanation of Key Icons - page 12
![](https://s3images.coroflot.com/user_files/individual_files/482082_eyzfq0lrljlvbqggwrlubd5el.png)
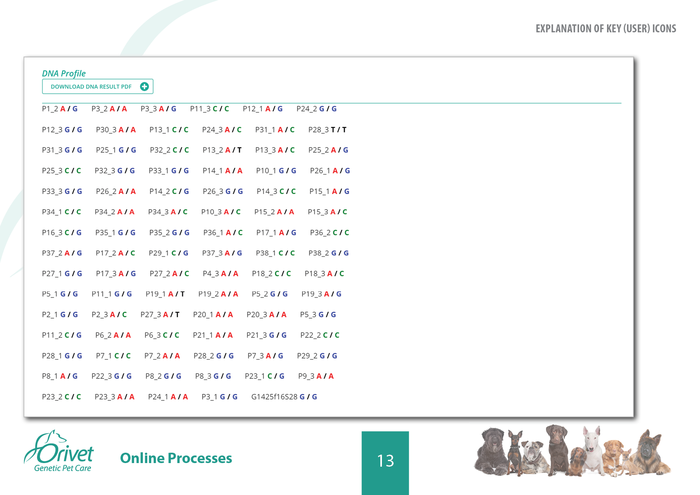
Explanation of Key Icons - page 13
gLike