
Pilot Visor - Rhino Model - In this section, I will be showing how I built this model, which is a headset with a visor for small aircraft pilots.
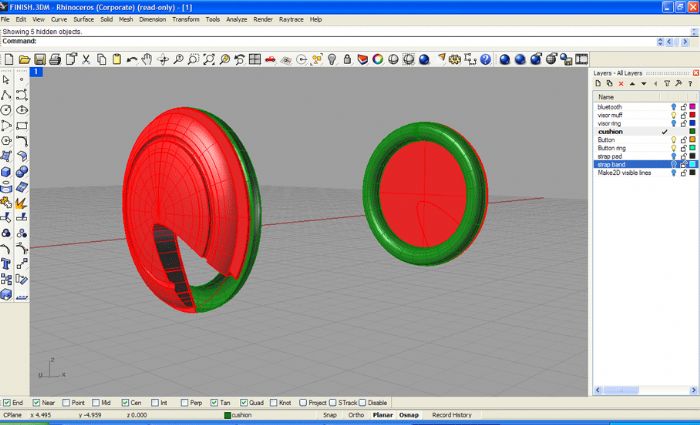
Headphone Construction - These are two parts the cushion and plastic piece. They were built at the same time with revolve and then later cut into separate pieces.

Bluetooth - Construction - The bluetooth mic was split after the earmuffs were built to keep the flush shape. The inner parts were boolean difference smooshed sphere.
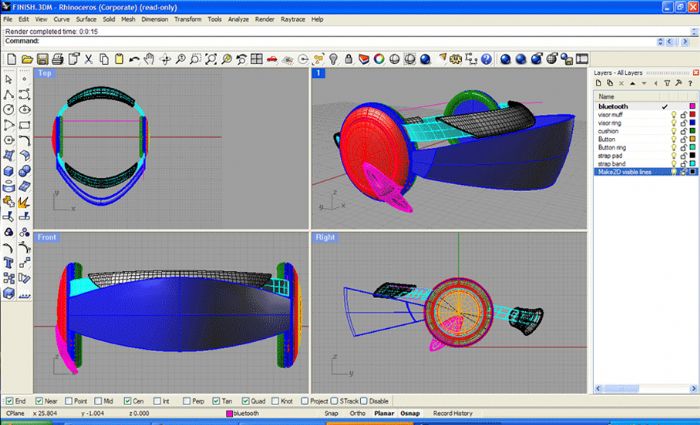
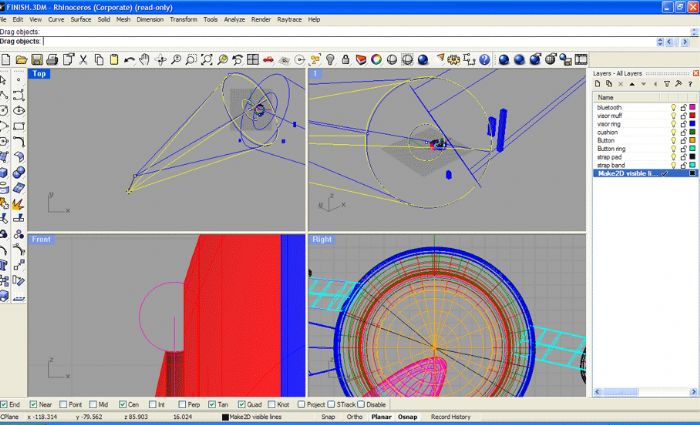
Checking All Views - After all the parts are made, I double check everything to make sure everything is in place and accurate.
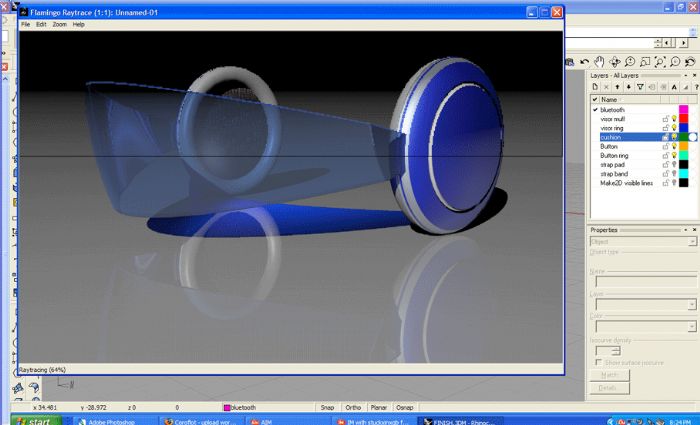
Quick Rendering - After I have assign all the materials to the parts a quick render is needed before I add the decals to finish off the model.
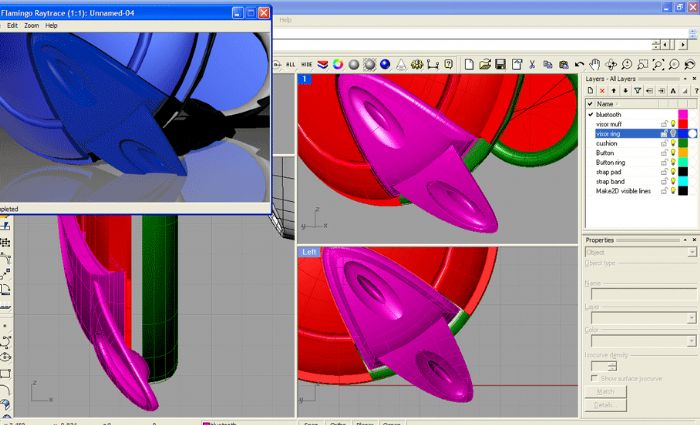
Suprise Mistakes - You can't always see where the ground plane may be, so I double check all the parts to make sure it doesn't go thru the floor. Also I correct some material breakups here in the bluetooth mic.
Rendering - Lighting - After I have added the decals, I work with the lighting to show the product and all if it's features. Sometime, like in this case, a setting is needed to show the forms better. In this case, I added pillars.
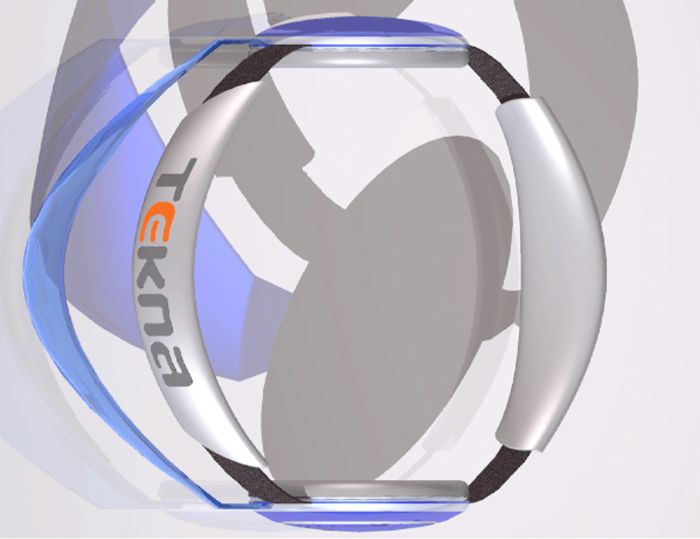
Control Lighting and Shadows - It takes time, but after finding the right lighting and shading, you can get a dramatic appearance.
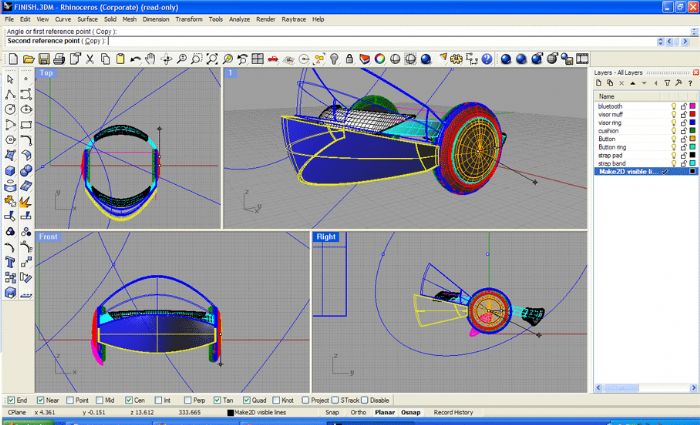
Slight Adjustments - After I find my lighting, I will start showing how parts move by actually moving the parts on the computer.

Adjustments - After I have a couple of shots of the visor moving, all I have to do is photoshop the motion.
gLike
Computer Model Rhino