
The Maitlands complete!
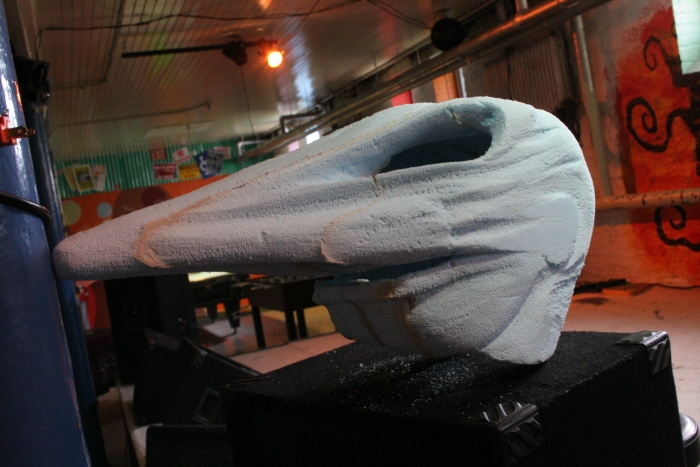
Adam base during stage 1 carving - Here is the rough carving for the Adam mask. You can see the seam lines where I glued the layers of foam board together with liquid nails. I them drilled out the eyes and the head cavity.
Carving out the head hole - Lesson learned from this was: in the future, cut out rough head cavity before gluing it all together, it saves a lot of time drilling and sanding out the hole.
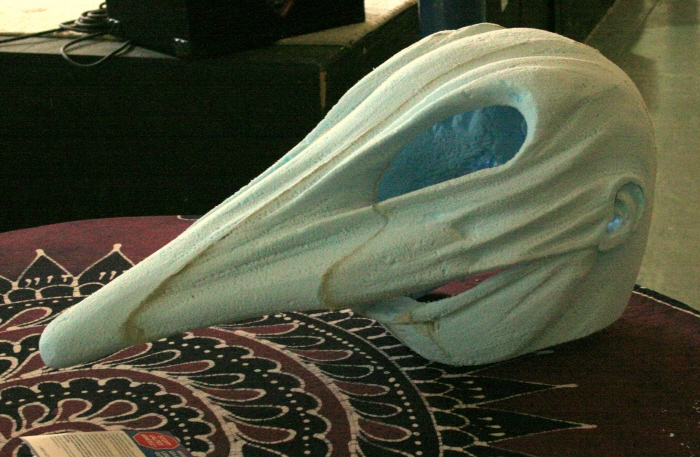
Adam base stage 1 complete - After going in with finer sandpaper I managed to really pull out the Stretch-effects. That's one of the things I love about the foam, the details stay and really look like they are pulled taut.
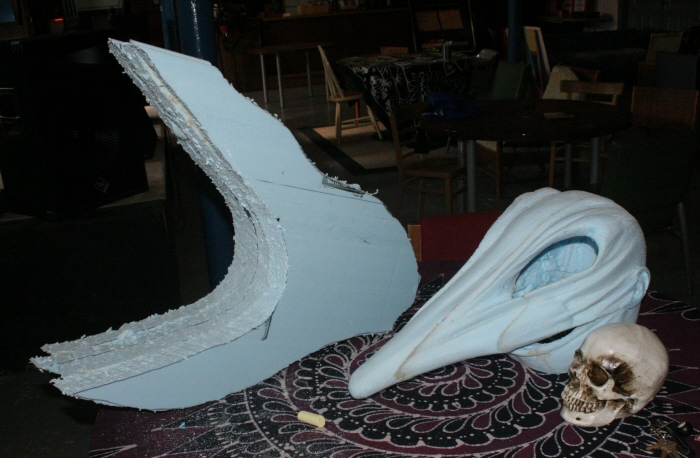
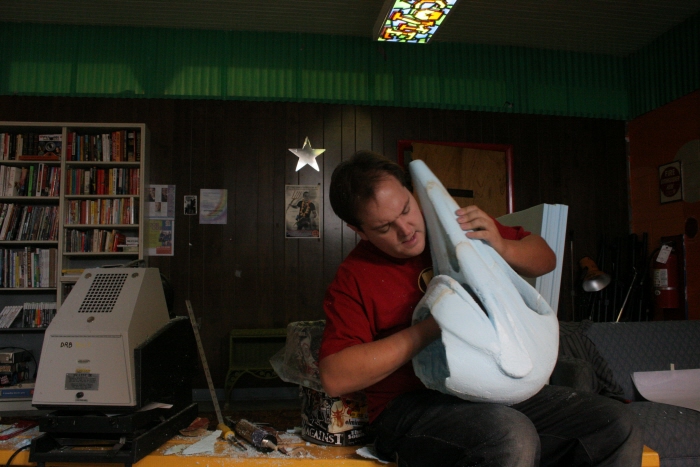
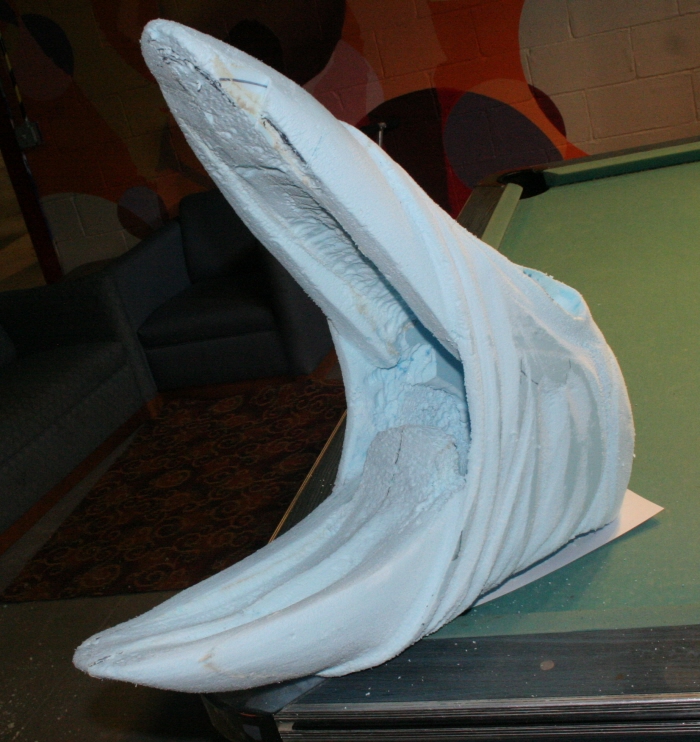
Barbara base with Adam carved - Here you can see the "C" shape of what will be the Barbara mask. It is made out of 4 sheets of foam board insulation glued together. I cut out a dome shape in the two middle pieces to cut down on carving time when taking out the head hole, which helped greatly.
Barbara Mask initial details - Here is the initial detail layout of the Barbara mask so I know where the important edges are.
You'll notice a piece chipped off on the top along the teeth line, I waited until much later to fix that.
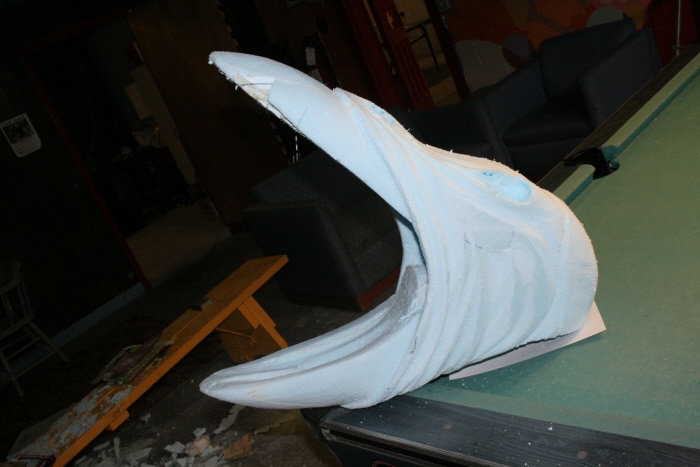
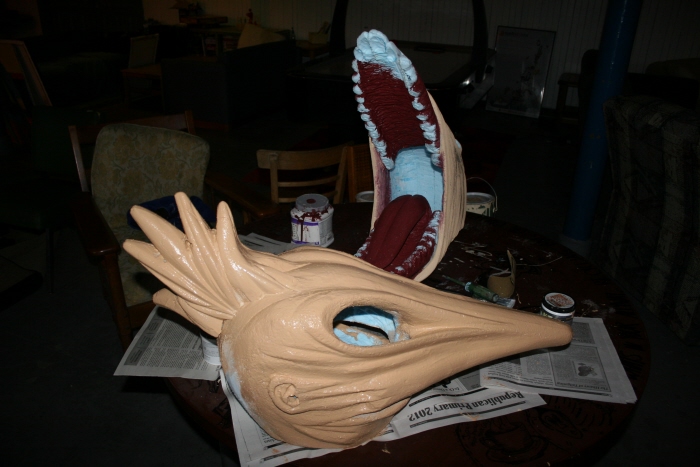
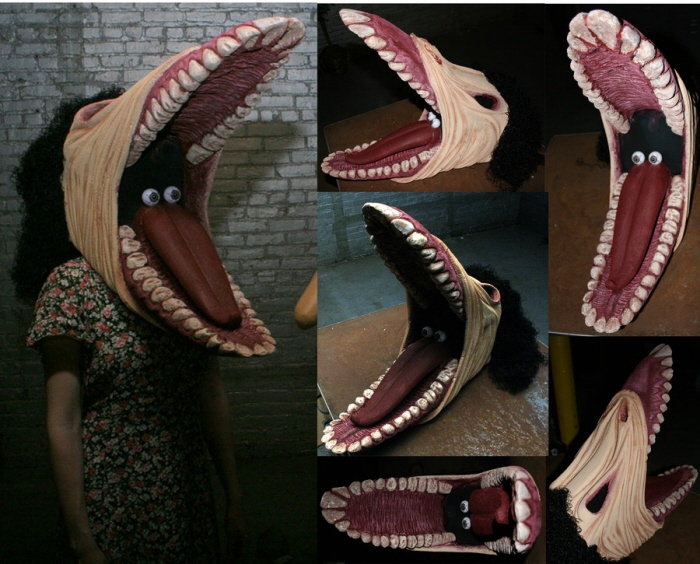
Barbara carving stage 1 - Here you can see I have drilled the throat straight through to the head cavity. The wearer will see out the mouth. You can also see where I used a dremel and started drilling out the texture on the roof of the mouth. I left the raised part in the back of the mouth so I would have something to attach the tongue to when I carved it. I wanted to be able to see under the tongue which is why I did not make it part of this initial piece.
I drew along the teeth edge with a sharpie to get the spacing of the teeth I wanted. I then went in with a dremel drill and carved out the gum line, as you can see here. I then went in later and sanded the surfaces smooth and added indentations between and on the teeth.
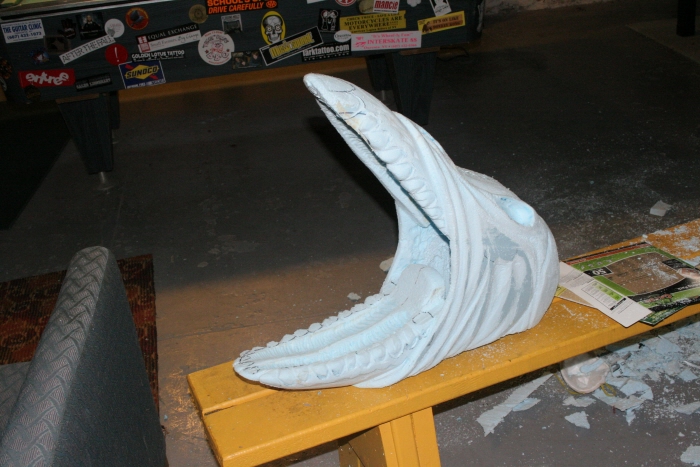
Barbara carving completed (pre-tongue) - Here is the mask, fully carved except for the addition of the tongue. The mount for that is in the middle of the throat.

Barbara and Adam carving stage Finished! - Here are the two masks completely carved and assembled.
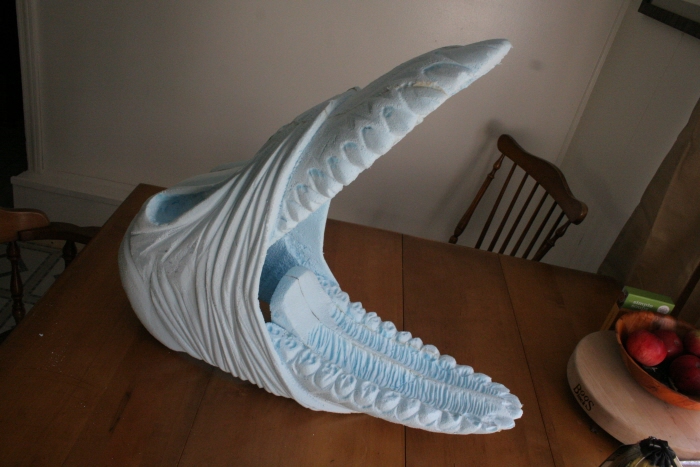
I have added the tongue to the Barbara mask and attached it with liquid nails.
I carved the hand crest for the top of Adams' mask and attached it the same way, which was a little difficult since I had to fit the piece on a curved surface. If I had been a little more confident when I started I would have made the hand crest part of the mask from the beginning which would have helped a lot with the pulling effects being more fluid.
Barbara and Adam base paint - I tried to match the base skin tones the best I could to the wearers. Unfortunately I grabbed a GLOSS paint for the Adam mask without realizing and had to repaint it.
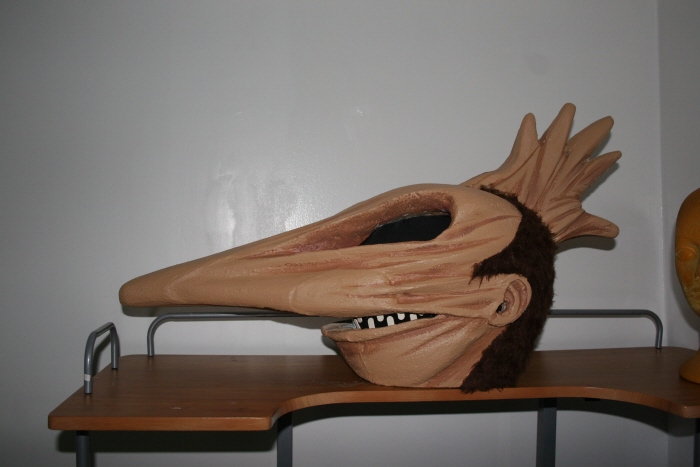
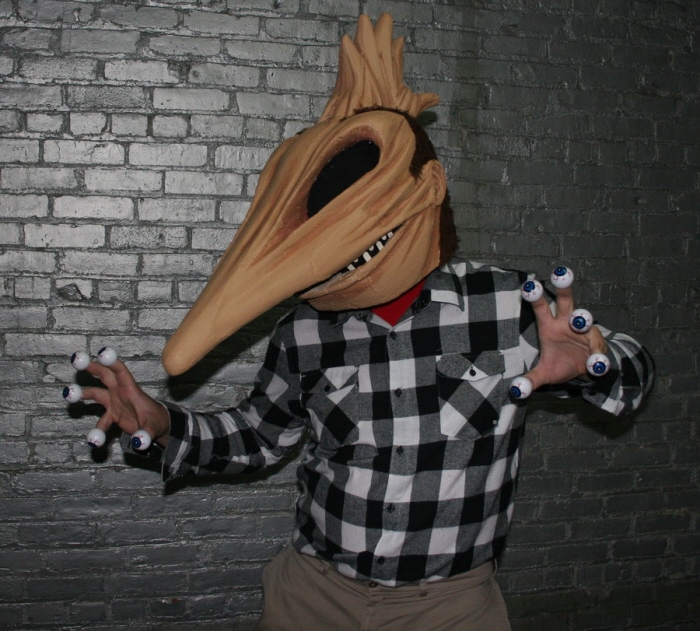
Adam Mask completed - Here is the mask, finally completed. I have added faux fur to the head for the hair, as well as adding shadow details and Popsicle sticks for the teeth. I also hot glued sheer black fabric in the eyes and mouth so I could see out but people could not see in.
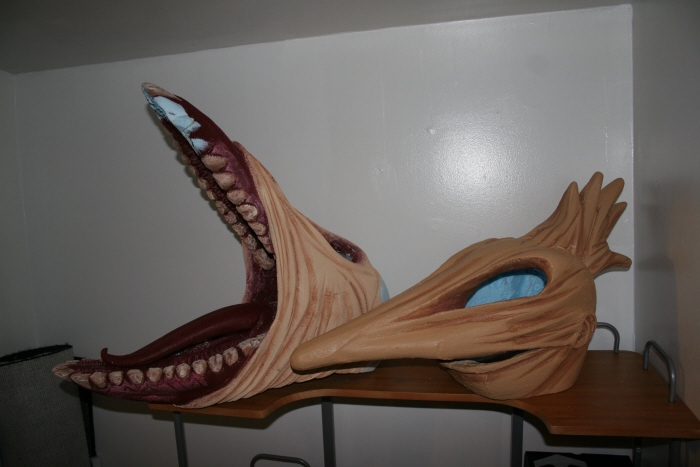
Maitland Masks paint in progress - Here are the masks nearly completed before the addition of the 'hair'. You can see I have still not yet patched the hole in Barbara's' teeth, I saved that for last.
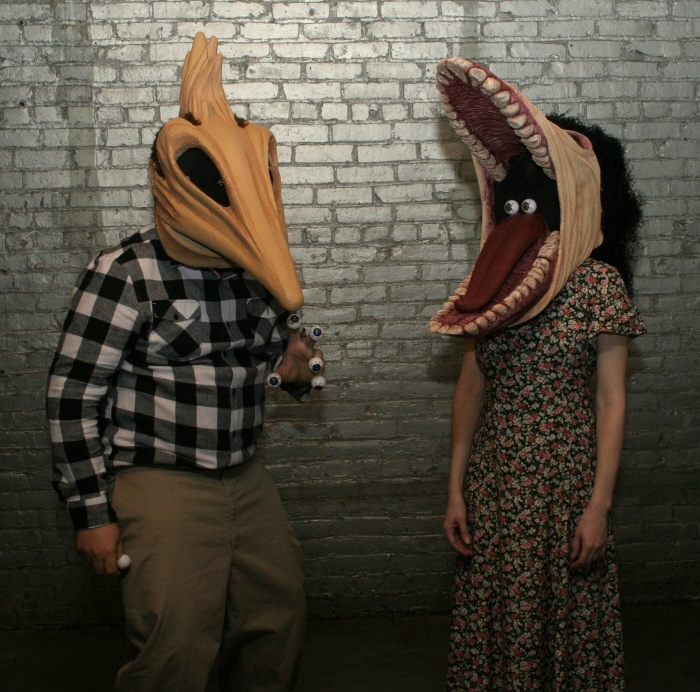
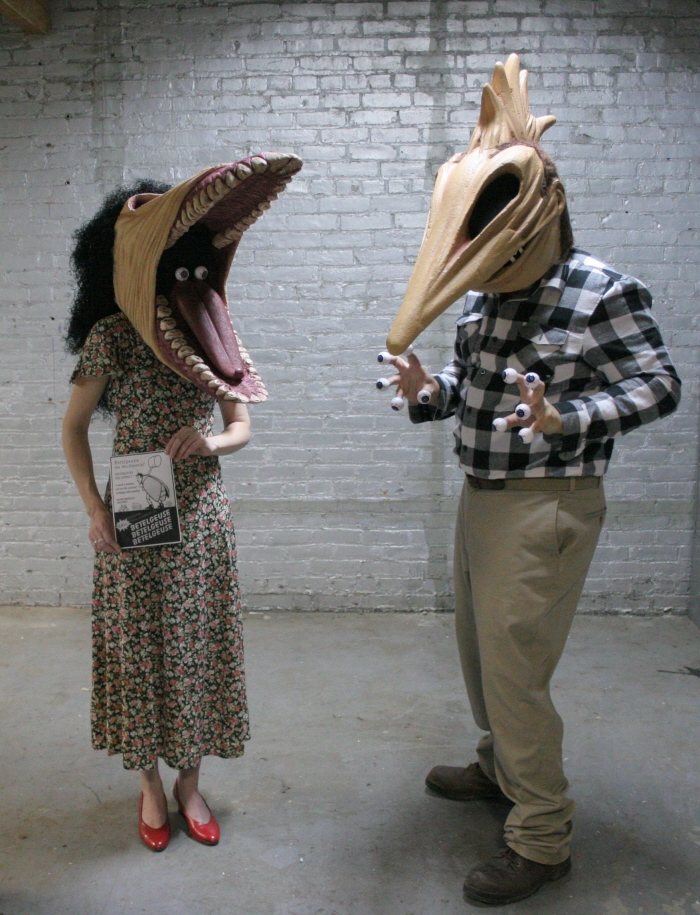
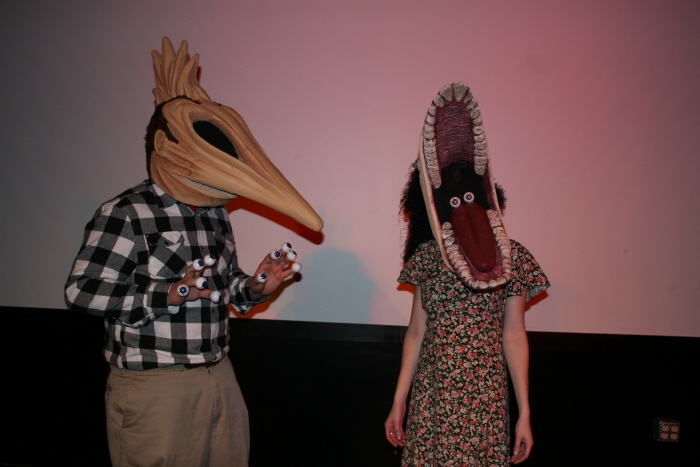
This is us in our costumes on our first night out.

gLike
The Maitlands Costumes 2011
featured as #10 of the top 25 Best-Ever Halloween Cotumes by Buzzfeed readers.