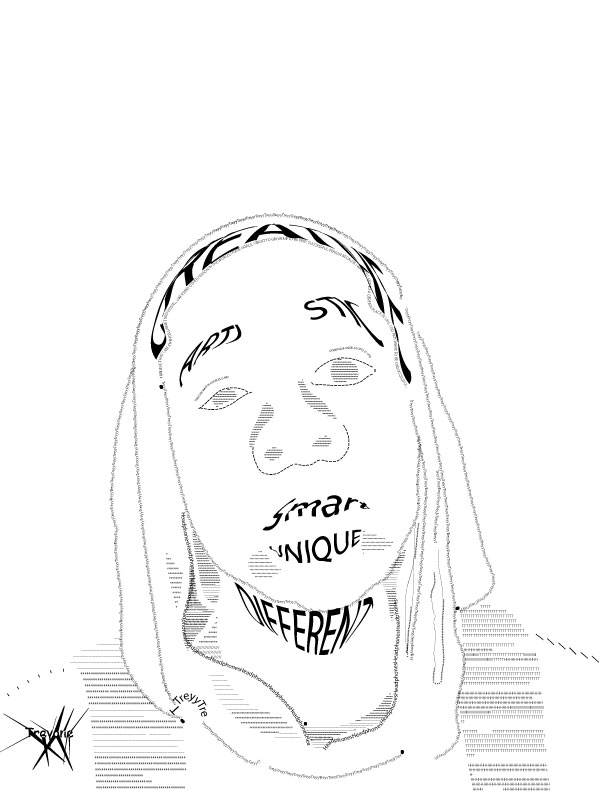
For Ms. Edelmann’s Font Face project, I decided to be pretty simple and
straightforward with it. To begin the project, I had to take a picture of myself of course.
After taking the picture and uploaded it to Adobe Illustrator, I change the background
layer, which was the picture of me, to a template instead of just a background layer.
Afterwards, I created a new layer. This layer will contain all the outlines of the image
where I wanted to add words, random letters, and even symbols. After creating
outlines and shapes on the layer above my “template” layer. When creating these
outlines, I focused on the lights and shades of my image. I wanted to capture the lights on the picture and emphasize the shades that were present. After creating my outlines and shapes with the paintbrush tool, I began to add the words to the outlines on the same layer. When adding words to a regular line, I would use the “Type on Path Tool”.